CISCO CSR1000 on ORACLE VirtualBox 5.1

Hi people!
This article was in my sketchbook for several weeks right now. For me, finding that I could run XVR IOS CSR1000 virtual router over VirtualBox 5.1 has been a almots a milestone.
To my taste, CISCO tends to be quite hostile when it comes to allow usage of its products, even in a limited manner, by individuals, and just for self-study/labs purposes... but to my surprise, this time, having a Cisco Account (CCO), it was possible to download certain CSR1000 images.
Don't fool yourself... images that are allowed to be downloaded are old, with reported critical bugs, and, without a license on them, CSR1000 is limited to a 100kbps bandwidth (enough but to play pings).
Getting an evaluation license for a few months is free and very easy though. Once licensed, limitations are gone, and is a nice exercise to do to one CSR1000 instance.
Although license management is part of CCNA R&S curriculum, I don't have much opportunities to practice with that, but thanks to the following article it was straightforward and it was really fun to do!!!!
http://www.burningnode.com/2016/02/08/the-csr1000v-license-and-the-100kbps/
So let's go for it!
The Lab:
- I'm using Linux Debian Stretch
- VirtualBox 5.1 from ORACLE's Debian repository
- Latest CSR1000 allowed to download whit my CCO account: csr1000v-universalk9.03.15.00.S.155-2.S-std.iso
The VM settings!
Here are the settings for a minimal VM (according to my readings).
I have tested successfully adding more CPUs and RAM (4CPUs and 8GB), without trouble (and far better feeling)
- general:
- type: Linux
- version: other 64bit
- system (mostly defaults!)
- motherboard tab:
- RAM 4GB
- Boot Order: remove floppy, 1st optical, 2nd HD
- Chipset should be PIIX3,
- Pointing device: PS/2
- Advanced features enabled: I/O APIC & Hardware Clock UTC
- Processor tab:
- 1 CPU
- Exec Cap at 100%
- enable PAE/NX (This exposed my Xeon CPUs to the VM)
- Acceleration tab:
- Paravirtialization interface: default
- Enable VT-x/AMD-V
- Enable Nested Paging
- motherboard tab:
- Display (default settings)
- Storage:
- Default growable .vdi of 8GB is OK
- Remove SATA controller
- Add Disk to the IDE controller
- So Under IDE controller you'll have CD-ROM and .vdi
- Enable Use Host I/O cahce for IDE controller
- Audio (disabled)
- Network:
- Enable network card 1, set as Virtio and bridge/NAT it to your host NIC
- Enable network card 2, set as Virtio and put as internal network
- Enable network card 3, set as Virtio and put as internal network
- Enable network card 4, set as Virtio and put as internal network
- Serial:
- Enable serial port
- COM1 (default IRQ I/O port)
- DURING INSTALL: disconnected
- AFTER INSTALL: HostPipe
- Uncheck Connect to existing pipe/socket (so it can create if needed)
- Path/Address: /tmp/whatever
- USB(as default)
Quick useful notes Before proceeding:
- Expect GRUB... it's Linux!
- When installing / 1st boot... just relax: let GRUB load the default VGA/Console option
- Install is fully automatic and unattended.
- CD ISO removal from drive is automatic, so after install, when warned about, you'll probably don't have to worry.
- After installation, GRUB option for a 'normal' boot, loading latest configuration, is labeled as 'packages.conf'
- After installation, GRUB option for a kind of no-config / factory-defaults, is the one labeled as 'GOLDEN-IMAGE'
Install process review:
-
GRUB loads... let load the 'default VGA/Console'
-
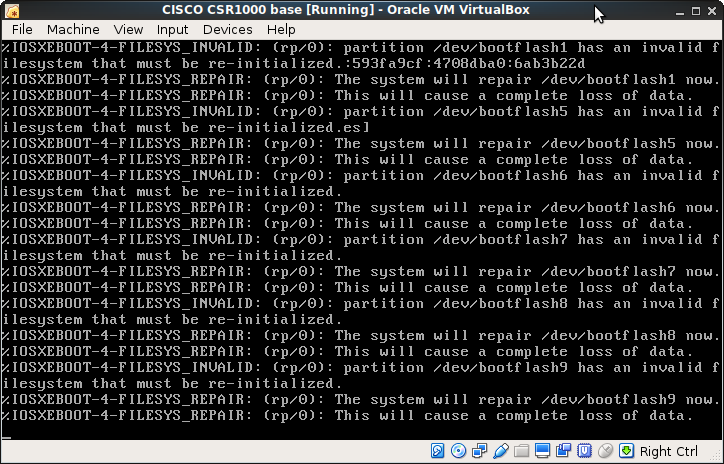
The installer start uncompressing images at partitions /dev/bootflashX
When dumping to /dev/bootflash9 it seems stuck... it's not! it just tooks a while! quite long... be patient.
-
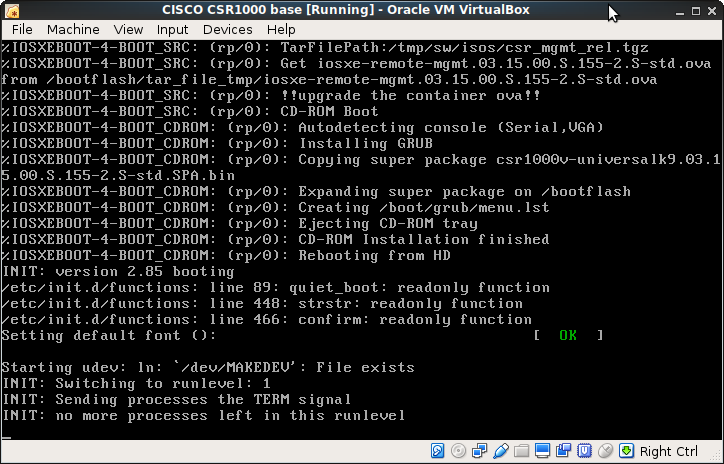
...Then the install resumes autodetecting VM virtual Hardware
-
Without warning the VM ejects the ISO image and reloads.
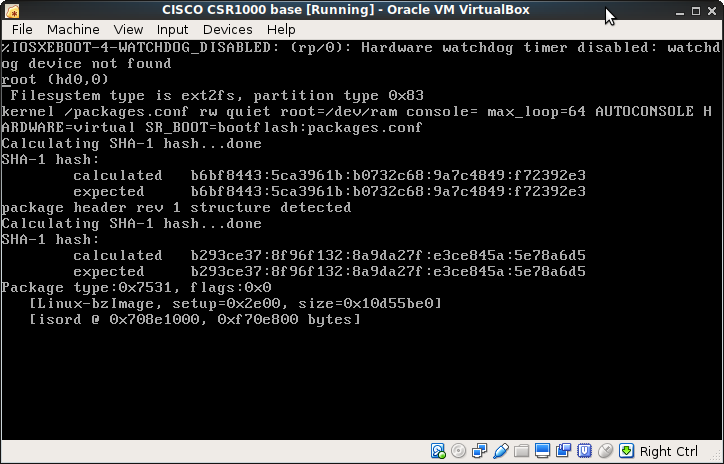
You'll booting first time from Disk, so now you'll see GRUB entries packages.conf or GOLDE-IMAGE... just let it go!
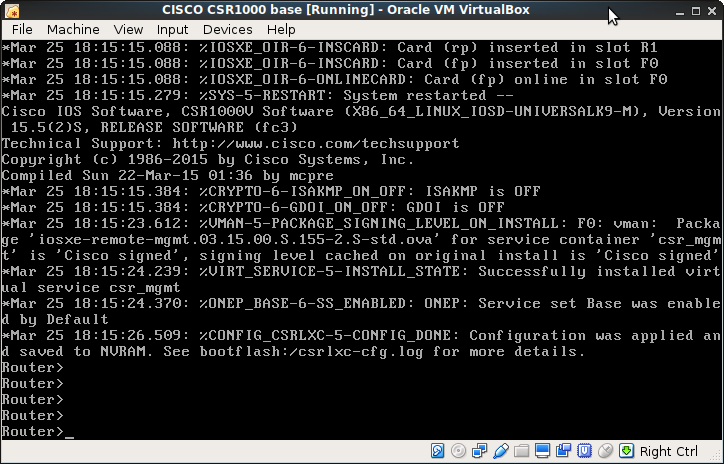
The Router boots...
-
...and after booting, you'll realize you're home:
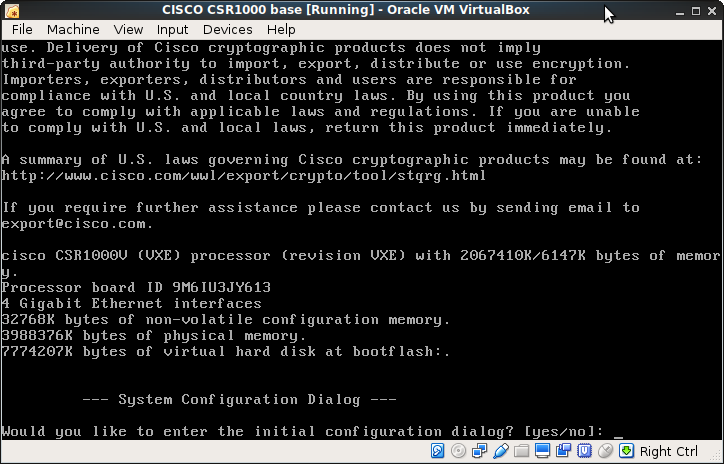
As usual on first boot on CISCO devices, you'll reach the typical IOS initial configuration dialog.
There is up to you... I answered 'no' to let the router end booting into a fresh/clean install.
-
So, finally I get the IOS prompt: Router>
Since I wanted a consolidated install image to make my base .ova I did an early rebooting just in case:
Went to privileged mode by doing enable
Executed the reload command -
Now the router should reboot normally until prompt.
GRUB default option is unchanged, defaulted at packages.conf option... so just let it go!
-
Make a .ova backup of your clean router.
Clone it, and keep the original install VM as a base, and start to play with its clones... You're done!!!!